
Why Hand Tool Organization Matters More Than You Think
Ask any experienced craftsperson how much time they spend actually working versus looking for tools, and you may be surprised. A disorganized toolbox or bench quietly drains energy from every project: you re-buy tools you already own, lose momentum hunting for a missing wrench, and sometimes even compromise safety by setting sharp tools wherever there’s space. Thoughtful organization transforms the same set of hand tools into a faster, calmer, and more precise workflow.
Organizing hand tools is not about perfection or elaborate storage walls. It’s about designing repeatable habits and simple systems that fit how you actually work. Whether you’re in a single-bay garage or a small apartment, you can create an efficient layout that keeps your hammers, screwdrivers, and wrenches ready whenever you need them.
Start With Zones, Not Containers
Most people start organizing by buying containers: new boxes, bins, and cabinets. A better approach is to define zones of use first, then choose storage that supports those zones. Ask yourself where you do each type of work—assembly at the bench, mechanical repairs near the car, small repairs at a general-purpose table.
Once you know your zones, group tools by how and where they’re used:
Core bench tools: layout tools (tape measures, squares), marking tools (pencils, markers), basic gripping tools (pliers, adjustable wrench), and a general-purpose hammer should live within arm’s reach of your main work surface.
Mechanical and fastening tools: socket sets, wrenches, nut drivers, and screwdrivers can be grouped together in a zone close to where you typically work on machinery or vehicles.
Cutting and shaping tools: saws, chisels, files, and rasps benefit from storage that protects their edges and teeth, ideally separated from heavy striking tools that might damage them.
By starting with zones, you avoid scattering similar tools through different boxes and create a mental map of where everything should be before you touch a single drawer.
Create a Home for Every Category
Once your zones are clear, the next step is to give each category a dedicated, obvious home. The goal isn’t military precision; it’s frictionless return. If it’s easy to put a tool back in the right place, you’ll actually do it.
For drawers, simple foam inserts or dividers go a long way. Cutouts for individual tools are helpful, but even loose groupings—screwdrivers in one section, pliers in another—create enough structure to keep chaos at bay. On pegboards, group items vertically by type. For instance, hang all your pliers in one column, wrenches in another, and hammers together. This makes scanning for a specific tool faster.
Labeling isn’t just for shared workshops. Labels on drawer fronts, bins, or even tape edges along a shelf reduce hesitation and remind you of the system when you’re tired or in a hurry. Your future self will thank you.
Choosing Storage: Wall, Drawer, or Mobile?
Different storage styles suit different tools and spaces. There’s no single best answer, but you can match the storage type to how often and where a tool is used.
Wall storage (pegboards, slatwall, French cleats) shines for tools you use constantly and want visible at a glance: your primary hammer, measuring tools, a few favorite screwdrivers, and your go-to pliers. Wall systems excel above benches, where frequently used tools are most convenient.
Drawer storage works well for complete sets and smaller tools: wrench sets, sockets, precision screwdrivers, and small measuring tools like calipers. Shallow drawers are ideal because you see everything at once without stacking.
Mobile storage—totes, small toolboxes, or tool backpacks—is best for the tools that travel between rooms, vehicles, or job sites. Creating a dedicated “household repair kit” you can grab in one hand reduces trips back and forth when fixing a loose hinge or assembling furniture.
Often, the most efficient workshop uses all three: wall storage for high-frequency tools, drawers for sets and delicate items, and a small portable kit for work away from the main bench.
Practical Layout Tips for Common Tools
Certain categories of hand tools benefit from specific layout choices that make them easier to grab and return.
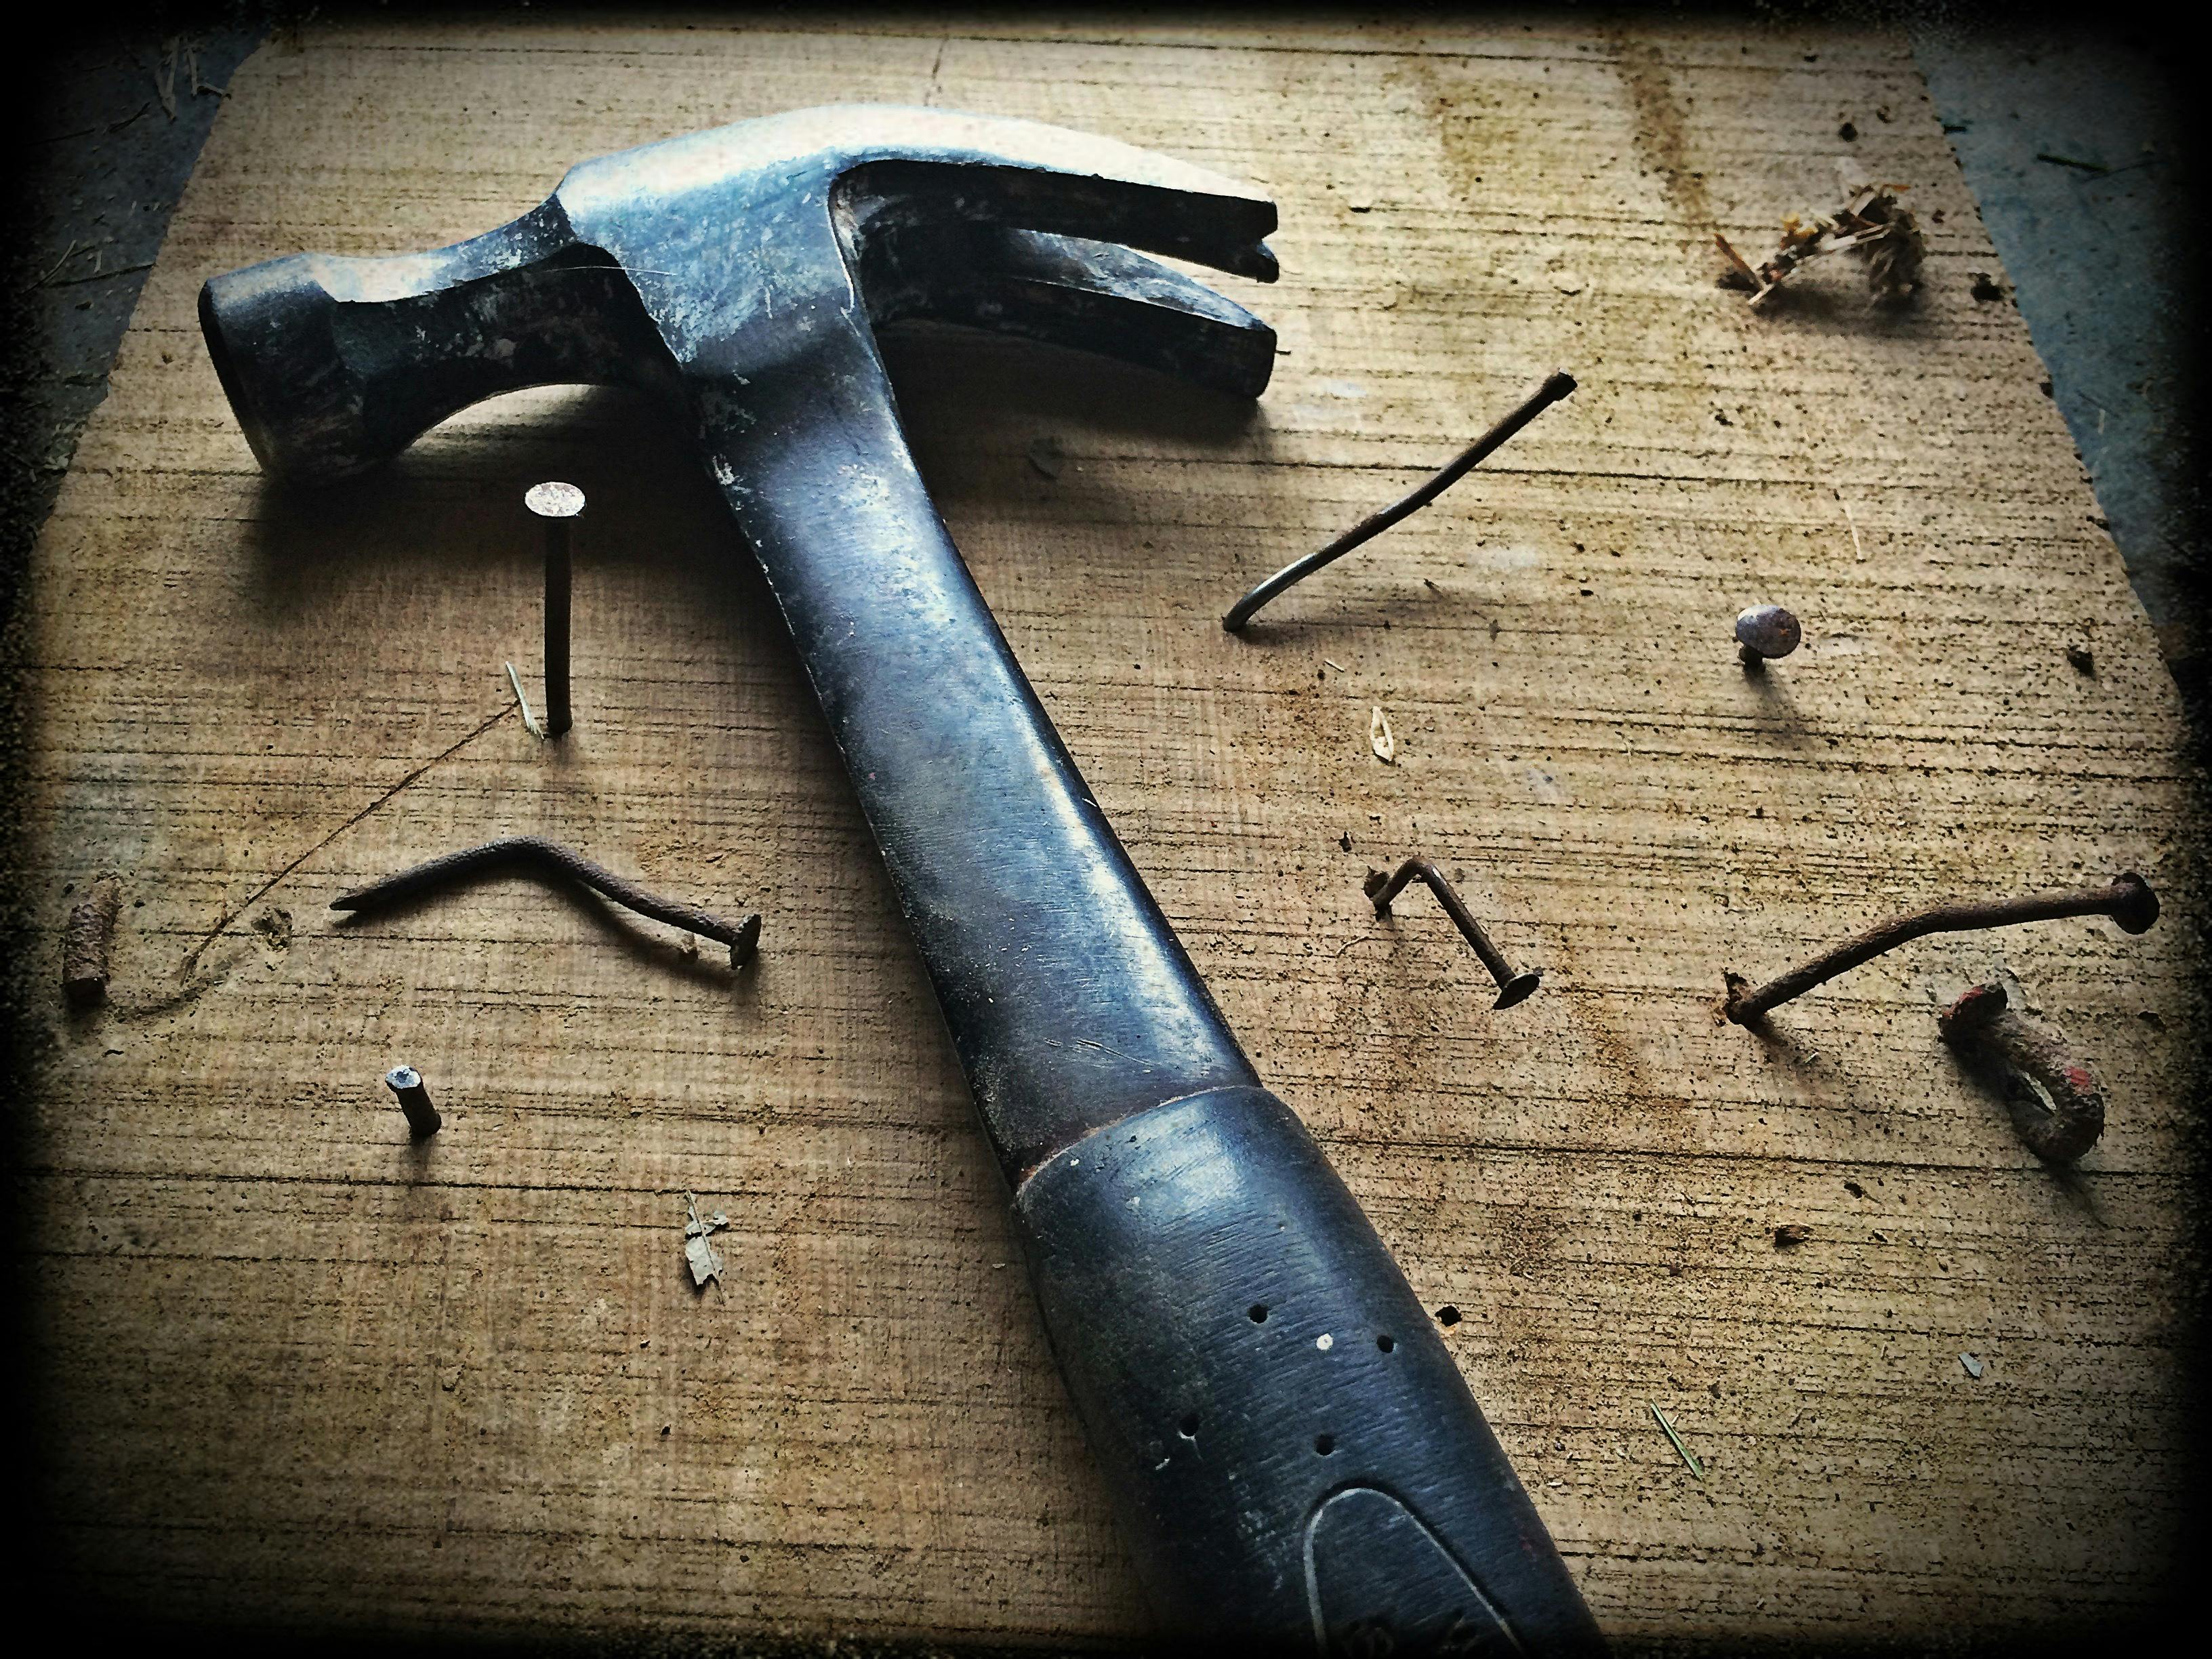
Hammers and mallets: Store them with heads up and handles down on hooks or in racks near your main bench. This keeps the weight low and makes it obvious which hammer you’re reaching for. Avoid burying them in a deep box where handles tangle.
Screwdrivers: Horizontal racks or shallow drawer organizers that show the tips are best. It’s much easier to spot a Phillips #2 by its tip than by the handle. If you have duplicate sizes, group by type and size from smallest to largest.
Wrenches: Wrench racks or clearly labeled drawer rows eliminate the “shuffle through a pile” problem. If you frequently switch between metric and imperial sizes, consider storing them in separate racks or on opposite sides of the same drawer.
Pliers: Wall-mounted plier racks or a dedicated shallow drawer work well. Standing pliers vertically in a rack makes it easy to see their jaw patterns and choose the right style—needle-nose, lineman’s, slip-joint, or locking—at a glance.
Design for Workflow, Not Just Storage
Effective organization isn’t only about where tools live—it’s about how they move through your workflow. Think of each project as a loop: tools start in storage, come to the bench, then should naturally find their way back.
A simple but powerful tactic is a small “in use” tray or magnetic strip near your main work area. As you pull tools from walls or drawers, place them here instead of scattering them across the entire bench. When the project wraps up or you pause for the day, your clean-up consists of returning everything from that tray to its home—not searching under rags or offcuts.
Similarly, keep consumables and related accessories close to the tools that use them: bits with screwdrivers, blades with saws, replacement inserts with chisels or planes. If you always have the right accessory within reach, you’re less likely to improvise with the wrong tool for the job.
Dealing With Limited Space
Many enthusiasts work in shared or tight spaces—a corner of a basement, a balcony, or a small shed. Even here, thoughtful hand tool organization is possible without major carpentry.
Use vertical surfaces first: the back of doors, the sides of cabinets, and even the ends of shelving units can accept slim racks or pegboard panels. A narrow wall-mounted rack for screwdrivers, pliers, and a single hammer can turn a blank wall into a compact “mini shop.”
For truly portable setups, think in layers: a small core kit for 80% of tasks and a secondary box for specialized tools. Keep the core kit ultra-accessible, stored near eye level and easy to carry. The specialized box can live on a higher shelf or in a closet, since it’s used less often.
Maintenance Routines That Reinforce Organization
Even the best layout fails if you never put tools back. The goal is not to police yourself, but to build simple routines that make order easier than disorder.
One reliable habit is the “five-minute reset” at the end of a work session. Before turning off the lights, spend five minutes returning tools from your in-use tray to their homes, tossing obvious trash, and staging the bench for your next visit. Knowing that tomorrow’s work will start at a clean bench is often the motivation you need to do that quick reset.
Every few months, perform a short inventory of each zone. Remove tools that have drifted into the wrong area, identify duplicates you no longer need, and note gaps in your system—for example, realizing your cutting tools don’t have a safe, consistent location. Small adjustments over time are more realistic than one huge re-organization that quickly falls apart.
Adapting Your System as Your Skills Grow
As you take on more complex projects, your tool collection and workflow will evolve, and your organization should evolve with them. A layout that worked when you owned one hammer and a few screwdrivers may struggle once you add specialty pliers, precision measuring tools, and multiple wrench sets.
Instead of clinging to a rigid system, treat your storage as modular. Wall panels, drawer inserts, and racks can all be rearranged as you learn which tools you reach for most often. Pay attention to friction points: if you dread digging out a certain tool, its home likely needs to move.
In the end, an organized hand tool setup isn’t about impressing visitors—it’s about making your work more enjoyable and effective. When every hammer, screwdriver, and wrench has a clear, logical place, you spend less time searching and more time building, fixing, and creating. That’s the true payoff of a well-organized hand tool collection.
Leave a Reply